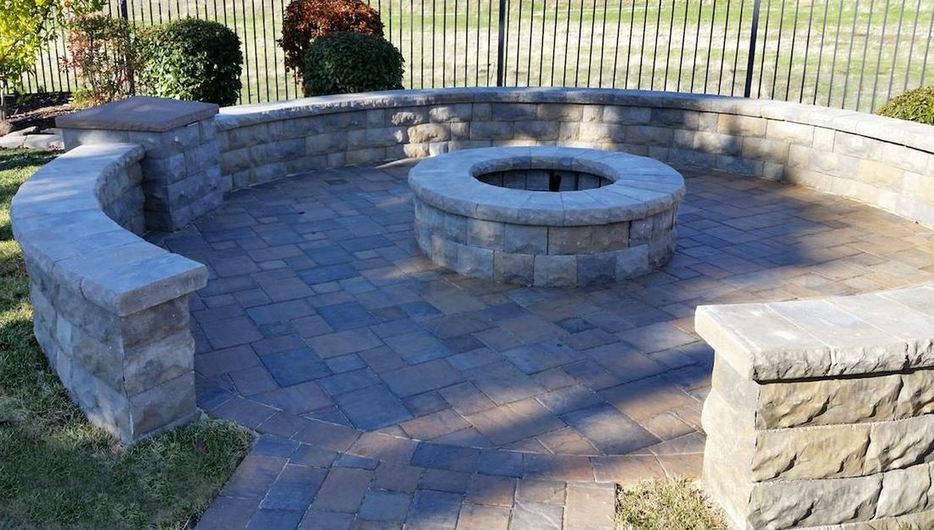
Love your patio again! Have it built with paver stones!
|
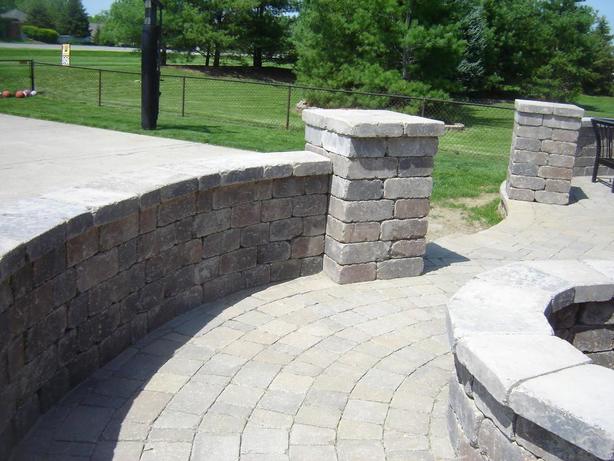
What would outdoor living be like without a custom-designed paver patio or driveway to complete your landscape? Indianapolis is the perfect city to have it installed!
Pavers are an excellent, relatively low-cost solution to create, and because they require very little maintenance, they are often a popular choice for homeowners to want installed on their property. The use of stone, brick or concrete pavers in building your patio or driveway are durable and allow your finished project to be able to withstand any weather elements. With low maintenance and a fantastic look, you just cannot go wrong! We're at (317) 344-8024, don't hesitate to reach out with any questions and to schedule your FREE estimate. 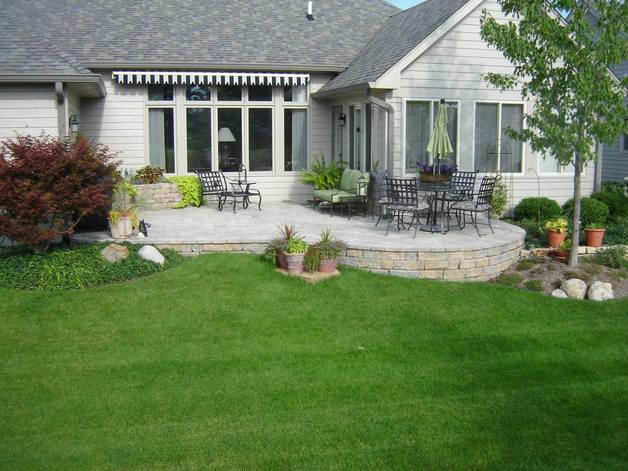
|
|
When laying out a plan for your project, it is wise to mark your area with a can of spray paint, first. Simply spraying the grass or dirt can give you a good idea of how large your project will be, perimeter-wise, to help you figure out a good estimate on cost of materials to complete it. When you are finished with your project, you can either pull the colored grass out by the roots, or it can be chopped on your next mowing or weed-eating excursion.
Once you purchase all your materials, you can pound in wooden stakes into the corners of the project area on your property where the construction will take place, ensuring that you stake off enough of an area, at least a few inches more than what you really need. This allows for expansion and settling during the construction process. Once you drive the stakes into your project area, you can block it off with construction tape or string to keep people out of it. The last thing you want is for your family dog to traipse through it after spending an afternoon leveling the dirt.
Next, you will take a square shovel and begin to remove the grass, digging between 4-6 inches into the ground. Keep in mind that when you go to build your paver patio or driveway that you will be adding material to this area before you lay the stone or brick. This will give the stone or brick the ability to absorb the pressure of weight it will be supporting.
After you have pulled all the grass pieces out of the area, its best to go back in with a rake and level off the newly exposed dirt. This will make the next step easier, in the long run. After you level the dirt, you will then need to pour dirt on top of that, which should measure 4-6 inches thick, as mentioned above. Once you pour the dirt, ensure that the ground is level and free of pebbles, stones and lumps. After you finish leveling this off, you will pour a thin layer of sand on top of this. At this point, you basically have three layers down, and you have not yet begun to place your stonework!
|
|
Once you give the ground some time to settle, you are now ready to begin laying your stone or brick work. This is where you can be as creative as you want!
You can cut bricks or stones to varying shapes or you can mix up your color palette and have a mix of lighter and darker pavers. For example, you could lay all the lighter stones in the center and then frame the lighter stones with darker ones around the edges, to close it in.
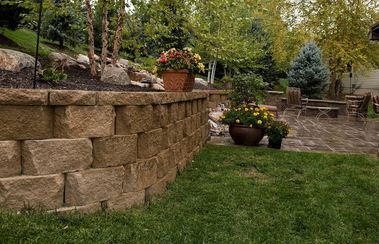
Once you finish laying all your stone or brick the way you want to, you should now go back in and pour sand on top of the stones, to fill in any cracks between your stones and give it a nice, finished look. You can then go back over the stones with a bristle or corn broom and brush away all the excess sand that you don’t need. Some people even spray the patio with water, to basically clean off the stones. The next thing you should do is let the patio settle for a bit.
After the stones, bricks or whatever other material you decide to use have had the chance to settle, they due to their own weight into the sand and the dirt beneath them, you can then decorate and arrange your new patio as you see fit. Keep in mind that you may have some shifting of the stones, as time goes on, but if you really pack down the layers below them, the shifting should be minimal.
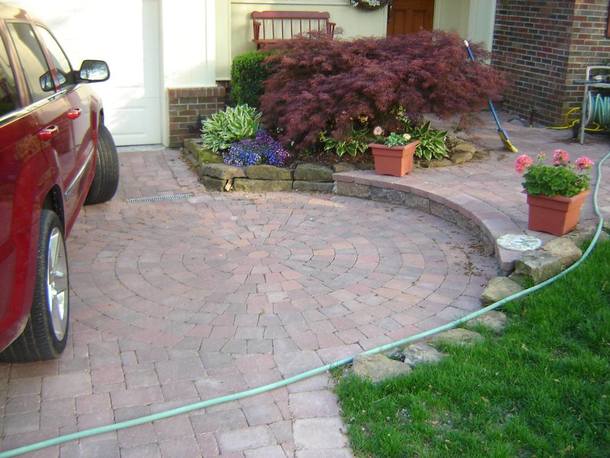
Now, in city parks and botanical gardens, the use of pavers can be arranged to make sidewalks that guide you through the path of where they would prefer you to travel, in lieu of walking through the garden and flower beds. Some places take the use of paver stones to another level by creating geometric shapes, pictures or patterns in the pathway by using different colored stones or bricks to get their desired look.
Paver driveways and side streets are very popular in historic districts and villages. Cobblestone streets were common in olden days, and many people who preserve historical properties try to stick with older practices, to keep things as authentic as possible.
Additionally, newer home developments that are built near villages or districts that have that “historic” feel to them may try to mimic the use of stone and bricking, to keep a continuity to the community.
You can cut bricks or stones to varying shapes or you can mix up your color palette and have a mix of lighter and darker pavers. For example, you could lay all the lighter stones in the center and then frame the lighter stones with darker ones around the edges, to close it in.
Once you finish laying all your stone or brick the way you want to, you should now go back in and pour sand on top of the stones, to fill in any cracks between your stones and give it a nice, finished look. You can then go back over the stones with a bristle or corn broom and brush away all the excess sand that you don’t need. Some people even spray the patio with water, to basically clean off the stones. The next thing you should do is let the patio settle for a bit.
After the stones, bricks or whatever other material you decide to use have had the chance to settle, they due to their own weight into the sand and the dirt beneath them, you can then decorate and arrange your new patio as you see fit. Keep in mind that you may have some shifting of the stones, as time goes on, but if you really pack down the layers below them, the shifting should be minimal.
Now, in city parks and botanical gardens, the use of pavers can be arranged to make sidewalks that guide you through the path of where they would prefer you to travel, in lieu of walking through the garden and flower beds. Some places take the use of paver stones to another level by creating geometric shapes, pictures or patterns in the pathway by using different colored stones or bricks to get their desired look.
Paver driveways and side streets are very popular in historic districts and villages. Cobblestone streets were common in olden days, and many people who preserve historical properties try to stick with older practices, to keep things as authentic as possible.
Additionally, newer home developments that are built near villages or districts that have that “historic” feel to them may try to mimic the use of stone and bricking, to keep a continuity to the community.